-
 Phone:
 -
 Email:

Professional Chain Link Fence Installation Services
Chain Link Fence Installation A Comprehensive Guide
Installing a chain link fence is a practical solution for securing your property while maintaining visibility. Whether you need to define boundaries for your yard, keep pets contained, or protect your garden, a chain link fence offers durability, affordability, and low maintenance. Here’s a step-by-step guide to help you through the installation process.
Step 1 Planning and Measuring
Before you start, it's crucial to plan the layout of your fence. Begin by determining where you want the fence to go and clearly marking the corners. Use stakes and string or paint to outline the area. Measure the total length of the fence to ensure you purchase enough materials. Remember to check local regulations or homeowners’ association guidelines regarding fence installation, as these may dictate height and style restrictions.
Step 2 Gathering Materials
Once you have your measurements, gather the necessary materials for your chain link fence. This typically includes
- Chain link fabric (the actual fencing material) - Fence posts (end, corner, and line posts) - Top rail (to provide stability) - Tension wire (to add support at the bottom) - Fence fittings (such as caps, tension bands, and braces) - Concrete mix (for securing the posts) - Tools (such as a post hole digger, measuring tape, level, and pliers)
Step 3 Setting the Fence Posts
The first installation step is setting the fence posts. Begin by digging holes for the fence posts, usually about one-third of the post length deep. A spacing of 6 to 10 feet between posts is standard, but this can vary based on your fence’s height and material. Place the end posts first, ensuring they are plumb and level. Then, fill the holes with concrete to secure them in place. Allow the concrete to cure for at least 24 hours before proceeding.
Step 4 Installing the Top Rail
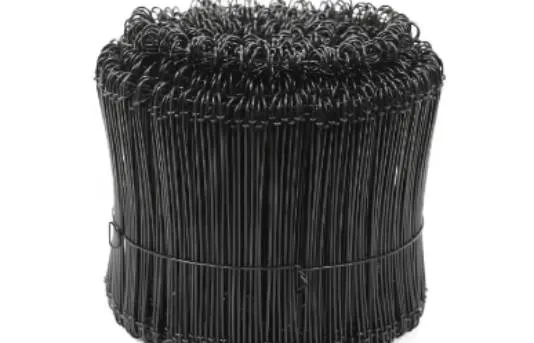
chain link fence installation
After the posts are set, install the top rail. It spans the distance between the end posts and provides additional support for the chain link fabric. Attach the rail to the posts using rail brackets and ensure it’s level before tightening the fittings.
Step 5 Attaching the Chain Link Fabric
With the top rail in place, it’s time to hang the chain link fabric. Start at one end, unrolling the fencing and stretching it along the posts. Use the tension bands to attach the fabric to the end posts, making sure it is taut and straight. A helper can be helpful during this step to ensure the fabric stays stretched while you work.
Step 6 Securing the Bottom with Tension Wire
To provide further stability, install the tension wire along the bottom of the chain link fabric. This wire adds strength and helps prevent the fabric from sagging over time. Secure it to the line posts and tension bands at each end.
Step 7 Final Touches
Once the chain link fabric is secure, trim any excess material and add caps to the top of each post. Finally, inspect the entire fence for any sharp edges or protrusions and address them to ensure safety, especially if you have pets or children.
Conclusion
Installing a chain link fence can be a satisfying DIY project that enhances the security and aesthetics of your property. With careful planning, the right materials, and a little patience, you can successfully complete the installation and enjoy the benefits of your new fence for years to come. Whether you’re enclosing a backyard, garden, or commercial space, a chain link fence is a reliable and cost-effective choice.
-
Uncompromised Slope Safety with Advanced Rockfall Protection NettingNewsJun.09,2025
-
The Smart Choice of Chain Link FenceNewsJun.09,2025
-
Securing the Future with Time-Tested Barbed Wire ProtectionNewsJun.09,2025
-
Reliable and All-Season Fencing with Premium Hexagonal Wire MeshNewsJun.09,2025
-
High-Performance Binding Solutions with Premium Loop Tie WireNewsJun.09,2025
-
Durable, Flexible, and High-Performance Baling Wire for SaleNewsJun.09,2025
-
Unveiling the Versatility of Hexagonal Wire MeshNewsMay.21,2025

