-
 Phone:
 -
 Email:

Guidelines for Installing a Chain Link Fence Effectively and Efficiently
The Art of Chain Link Fence Installation
Installing a chain link fence is a practical and efficient way to secure your property while allowing visibility and airflow. Whether you are looking to keep pets safe, mark boundaries, or enhance privacy, understanding the installation process is essential. This guide will walk you through the basics of chain link fence installation, ensuring your project is a success.
Planning and Preparation
First and foremost, planning is key. Determine the perimeter where you want the fence to be installed. Measure the area accurately to calculate the amount of materials needed, including fence fabric, posts, and top rails. Be sure to check local regulations or homeowners’ association rules, as there may be restrictions on fence height and style.
Next, gather the necessary tools a post hole digger, level, tape measure, pliers, wire cutters, and a concrete mix for setting the posts. Most importantly, ensure you have sturdy quality materials. High-galvanized chain link fabric will offer durability and longevity, while standard steel posts will provide the necessary strength.
Marking the Layout
Before starting the actual installation, mark the layout of your fence. You can use stakes and string to outline where the fence will run. This ensures that you keep a straight line and adhere to your planned measurements. Make sure to note where the gates will be placed for easy access.
Installing the Posts
The next step is to dig holes for the posts. Typically, a hole should be about one-third the length of the post deep. For instance, if you have an 8-foot post, the hole should be at least 2.5 feet deep. Once the holes are dug, place the posts in, ensuring they are spaced evenly—usually 6 to 10 feet apart depending on your fence design.
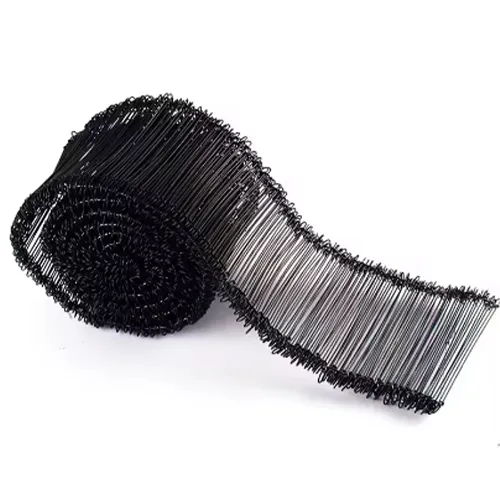
chain link fence installation
Next, pour concrete into the holes around the posts to secure them. Use a level to make sure each post is straight before the concrete sets. Allow the concrete to cure for at least 24 hours for maximum stability.
Attaching the Chain Link Fabric
Once the posts are set, it’s time to attach the chain link fabric. Start at one corner post and unroll the fabric along the line of posts. Use tension bands to secure the fabric to each terminal post. For the best results, pull the fabric taut to avoid sagging. Secure the bottom of the fabric with wire ties to keep it in place.
Adding the Top Rail and Gates
Install a top rail to help stabilize the structure. Connect it to the posts using rail ends and tension bands. This rail not only adds to the fence’s strength but also creates a clean finished look.
Finally, if you have a gate, install it according to the manufacturer’s instructions. Ensure the gate swings freely without obstruction and is aligned with your fence.
Maintenance Tips
After installation, periodic maintenance is vital to prolong the life of your chain link fence. Regularly check for any rust or wear and address it promptly. A coat of rust-resistant paint can also help maintain its appearance.
In conclusion, installing a chain link fence can be a straightforward project if you plan carefully and follow the outlined steps. With the right tools and materials, you can create a functional and attractive border for your property. Enjoy the peace of mind that comes with a well-constructed fence!
-
Wire Mesh for Every Need: A Practical SolutionNewsJul.25,2025
-
Steel Fences: Durable, Secure, and Stylish OptionsNewsJul.25,2025
-
Roll Top Fencing: A Smart Solution for Safety and SecurityNewsJul.25,2025
-
Cattle Farm Fencing Solutions for Maximum SecurityNewsJul.25,2025
-
Affordable Iron Binding Wire SolutionsNewsJul.25,2025
-
Affordable Galvanized Wire SolutionsNewsJul.25,2025
-
Wire Hanger Recycling IdeasNewsJul.25,2025

