-
 Phone:
 -
 Email:

Guide to Installing a Chain Link Fence for Your Property
Installing a Chain Link Fence A Comprehensive Guide
Chain link fences are a popular choice for homeowners due to their durability, affordability, and low maintenance. Whether you want to secure your property, keep pets in, or define boundaries, installing a chain link fence can be a rewarding DIY project that enhances your outdoor space. In this article, we will guide you through the essential steps and considerations involved in installing a chain link fence.
Step 1 Planning Your Fence
Before you head to the hardware store, it is crucial to plan your fence layout. Start by deciding where you want the fence to be installed. Take measurements to determine the total length of the fence required. Mark the corners and any gates with stakes and string. This will give you a clear visual representation of the area to be fenced.
Next, check local zoning laws and regulations. Many municipalities have requirements regarding fence height, style, and property lines. You may need a permit before commencing with the installation, so ensure to check with your local governing body.
Step 2 Gathering Materials and Tools
Once the planning is complete, it is time to gather the necessary materials and tools. For a chain link fence, you will need
- Chain link fabric (available in various heights) - Fence posts (end posts, line posts, and corner posts) - Concrete mix (for securing the posts) - Top rails - Tension bands and wire - Steel post caps - Gate and hinges (if a gate is required)
In addition to these materials, gather tools such as a post hole digger, level, measuring tape, fence pliers, and a power drill. Having the right tools handy will make the installation process more efficient.
Step 3 Setting the Posts
chain link fence installation
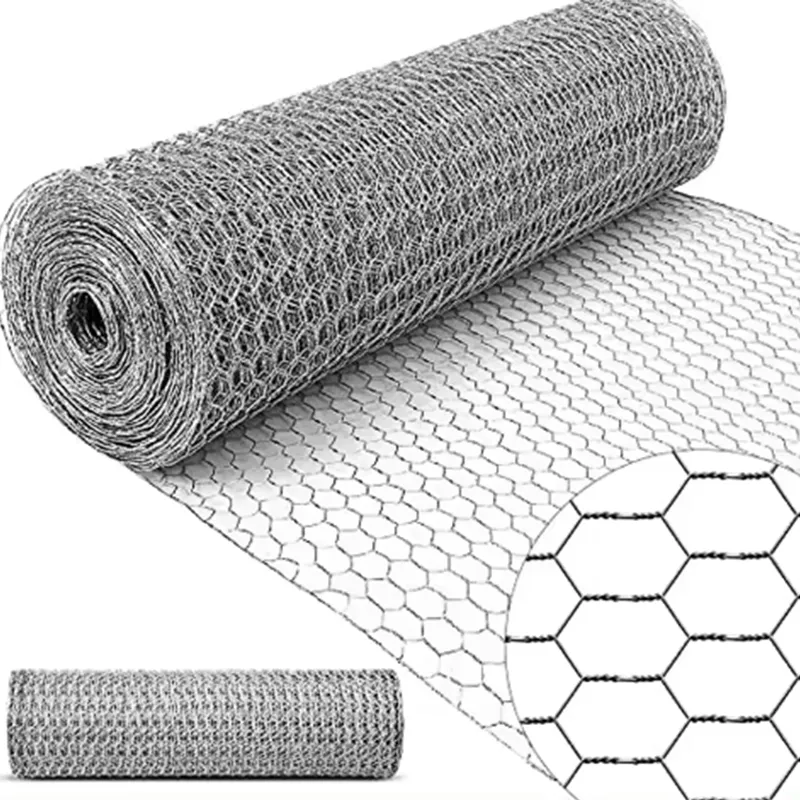
Begin the installation by marking the location for the fence posts. Space the line posts about 10 feet apart and dig holes for each post, ensuring they are deep enough (typically one-third of the post's length). Make sure the holes are wide enough to allow for concrete mix.
Once the holes are dug, place the posts in position, ensuring they are vertical using a level. Fill the holes with concrete and let it cure according to the manufacturer's instructions. This step is essential for ensuring a sturdy and long-lasting fence.
Step 4 Installing the Chain Link Fabric
With the posts securely set, it’s time to install the chain link fabric. Start by attaching the tension bands and top rails to the end posts. Then, unroll the chain link fabric along the line of posts. Use the fence pliers to stretch the fabric and attach it to the posts using ties or clips.
Ensure the fabric is pulled taut and level as you proceed. For added stability, consider using intermediate posts if your fence is particularly high or stretches over a long distance.
Step 5 Adding Finishing Touches
After the fabric is installed, add the bottom railing if needed, and secure the fence with ties. Install any gates you’ve planned for and ensure they swing open and close properly.
Finally, inspect your fence for any sharp edges or protruding wires and use a file or grinder to smooth these out. This will not only enhance the appearance of the fence but also ensure safety for you and your family.
Conclusion
Installing a chain link fence requires careful planning and execution, but with the right tools and materials, it can be a straightforward task. Not only does it provide security and visibility, but it also enhances the aesthetic of your property. Once installed, your chain link fence will serve you well for many years to come, requiring minimal upkeep and maintenance. Whether you are looking for a practical solution or simply want to make your yard feel more defined, a chain link fence is an excellent choice.
-
Wire Mesh for Every Need: A Practical SolutionNewsJul.25,2025
-
Steel Fences: Durable, Secure, and Stylish OptionsNewsJul.25,2025
-
Roll Top Fencing: A Smart Solution for Safety and SecurityNewsJul.25,2025
-
Cattle Farm Fencing Solutions for Maximum SecurityNewsJul.25,2025
-
Affordable Iron Binding Wire SolutionsNewsJul.25,2025
-
Affordable Galvanized Wire SolutionsNewsJul.25,2025
-
Wire Hanger Recycling IdeasNewsJul.25,2025

