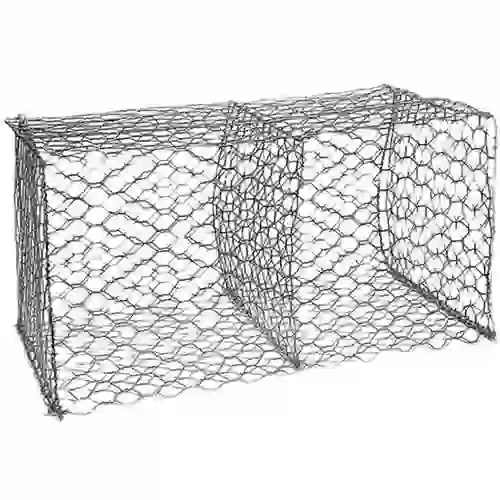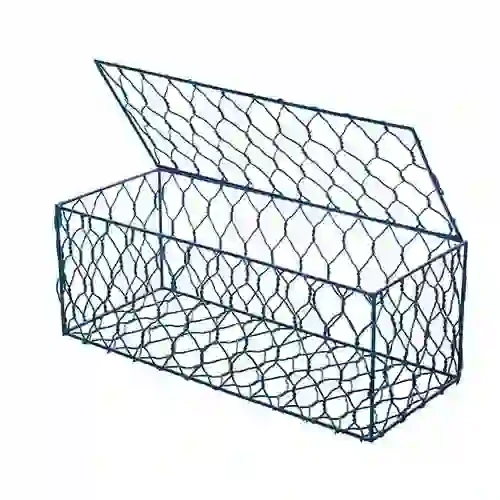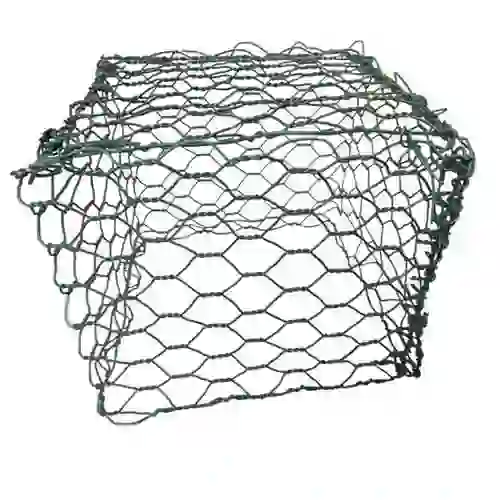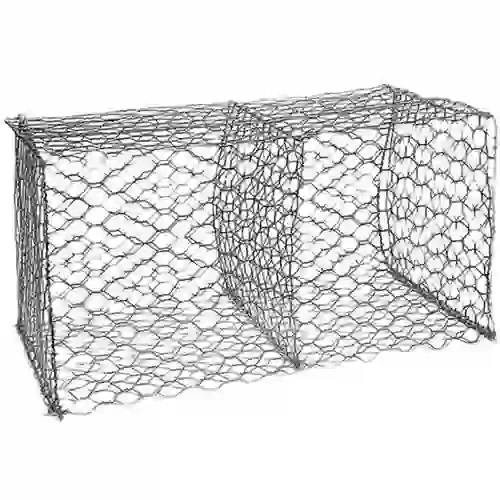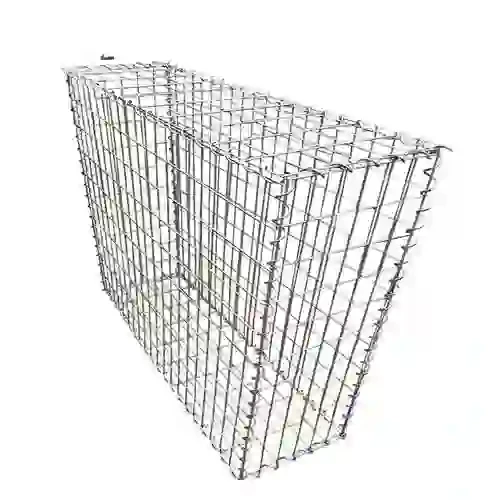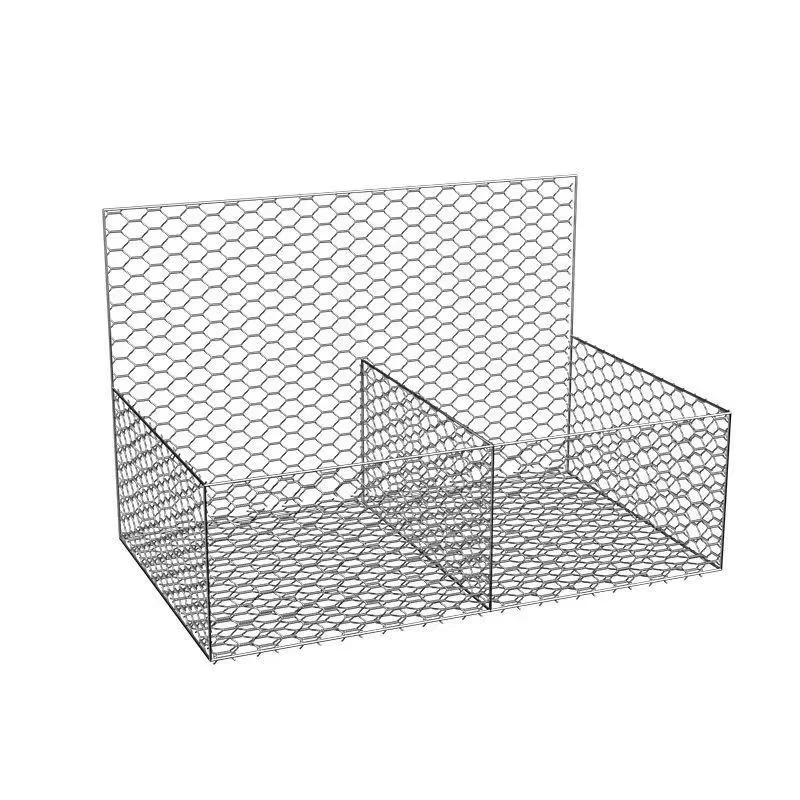
chain link fence installation
Chain Link Fence Installation A Comprehensive Guide
Chain link fences are a popular choice for residential, commercial, and industrial properties due to their durability, affordability, and low maintenance. Whether you're looking to secure your yard, provide privacy, or delineate property boundaries, installing a chain link fence can be a rewarding DIY project. This guide will walk you through the steps of chain link fence installation, ensuring that you can achieve a sturdy and aesthetically pleasing result.
Materials Needed
Before you begin, gather all necessary materials and tools. Here's a list of what you'll need
- Chain link fencing (rolls of mesh wire) - Fence posts (terminal and corner posts) - Top rail - Tension wire - Hinges and latches (if installing a gate) - Concrete mix (for setting posts) - Tools post hole digger or auger, level, measuring tape, wire cutters, pliers, and a wrench.
Step 1 Planning and Layout
Start by planning the layout of your fence. Determine where you want your fence to go and mark the corners of the intended area with stakes or spray paint. Measure the distance between the corners to estimate the amount of chain link material and posts required. Consider local zoning regulations and acquire any necessary permits.
Step 2 Setting the Posts
1. Digging Holes Using a post hole digger or auger, dig holes for the posts. Each hole should be about one-third the height of the post deep for stability. Typically, a depth of 2-3 feet is sufficient for most chain link fences.
2. Placing Posts Place the terminal and corner posts into the holes. Ensure that they are vertical using a level. If you're installing a gate, be sure to keep the gate post aligned correctly with the desired opening.
3. Concrete Setting After positioning the posts, mix and pour concrete into the holes around the posts. Allow the concrete to set according to the manufacturer's instructions, usually 24-48 hours, before proceeding to the next steps.
Step 3 Installing the Top Rail
Once the posts are secure, it's time to install the top rail. This is a horizontal pipe that connects the posts at the top, providing structural support for the fence.
1. Cutting the Rail Measure the distance between the posts and cut the top rail to size.
chain link fence installation
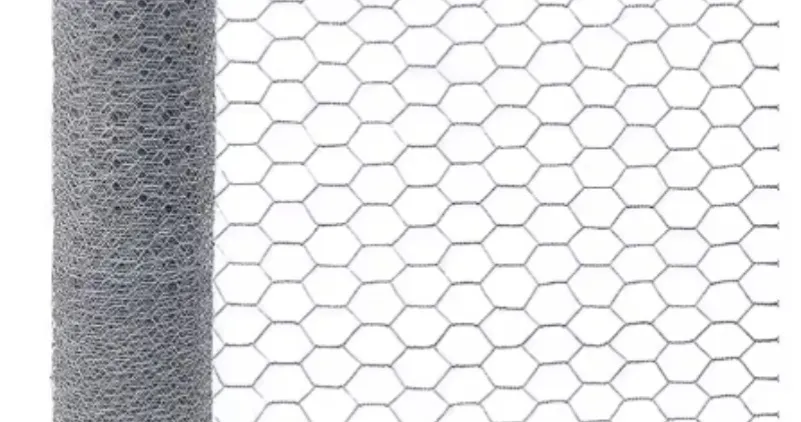
2. Attaching the Rail Use rail sleeves to connect the top rail to the posts. Simply slide the rail into the brackets and tighten them securely.
Step 4 Installing the Chain Link Fabric
With the posts and top rail in place, it’s time to install the chain link fabric.
1. Unrolling the Fabric Start at one terminal post. Unroll the chain link fabric along the length of the fence.
2. Connecting to Posts Secure the fabric to the posts using wire ties. Typically, you will need to use 1-2 ties per post. Make sure to pull the fabric taut as you work your way down the fence.
3. Tension Wire Don't forget to install the tension wire at the bottom of the fence to provide additional support. Attach it similarly with wire ties.
Step 5 Finishing Touches
1. Gates If you are installing a gate, now is the time. Attach hinges to the gate post and hang the gate. Ensure it swings freely and installs a latch for security.
2. Trimming Trim any excess chain link fabric at the end of the roll, ensuring that the fence remains neat and tidy.
3. Final Inspection Walk along the fence to check stability, visual appeal, and safety. Make any necessary adjustments if needed.
Maintenance Tips
Once you have installed your chain link fence, maintenance is minimal but necessary. Regularly check for rust or damage, especially in areas prone to moisture. A simple high-pressure wash can help maintain its appearance, and applying a rust-resistant paint can extend its life.
Conclusion
Installing a chain link fence can be a straightforward and fulfilling project. By following the steps outlined above, you can create a functional and durable fence that meets your needs. With proper installation and maintenance, your chain link fence will provide security and style for years to come. Happy fencing!
-
Wire Mesh for Every Need: A Practical SolutionNewsJul.25,2025
-
Steel Fences: Durable, Secure, and Stylish OptionsNewsJul.25,2025
-
Roll Top Fencing: A Smart Solution for Safety and SecurityNewsJul.25,2025
-
Cattle Farm Fencing Solutions for Maximum SecurityNewsJul.25,2025
-
Affordable Iron Binding Wire SolutionsNewsJul.25,2025
-
Affordable Galvanized Wire SolutionsNewsJul.25,2025
-
Wire Hanger Recycling IdeasNewsJul.25,2025

