-
 Phone:
 -
 Email:

Guide to Installing Chain Link Fences for Your Property Needs
Chain Link Fence Installation A Comprehensive Guide
Chain link fences are a practical and cost-effective choice for both residential and commercial properties. Known for their durability and low maintenance, these fences provide security while allowing visibility. If you’re considering installing a chain link fence, this guide will walk you through the essential steps to ensure a successful project.
Planning and Preparation
Before beginning the installation process, careful planning is crucial. Start by determining the purpose of the fence—whether it's for security, decoration, or to keep pets in your yard. Next, measure the area where the fence will be installed. Make sure to mark the corners and any gates with stakes.
Check local regulations and obtain any necessary permits. Some areas may have restrictions on fence height or location, so it's important to be aware of these before you start digging.
Gathering Materials and Tools
Once you have a plan in place, gather all the required materials. Typically, you’ll need the following
- Chain link fabric This comes in rolls and can be purchased in various heights and gauges. - Posts Line posts and corner posts (often thicker) are necessary to support the fabric. - Top rail This provides additional support to the fence structure. - Gates A gate kit can be bought separately or as part of a fencing package. - Concrete mix To secure the posts into the ground. - Tension bands and ties These will be used to attach the chain link fabric to the posts. - Tools You will need a post hole digger, tape measure, level, pliers, and wrench, among others.
Installation Steps
1. Prepare the Site Clear the intended fence line of debris and ensure the ground is relatively level. Remove any rocks or roots that might impede the hole-digging process.
2. Install the Posts Using your post hole digger, create holes for your fence posts. The depth should be at least one-third of the post height above ground. Place the posts in the holes, ensuring they are plumb and level. Pour concrete into the holes to secure the posts, allowing it to cure as per the manufacturer's instructions. Generally, 24-48 hours is sufficient.
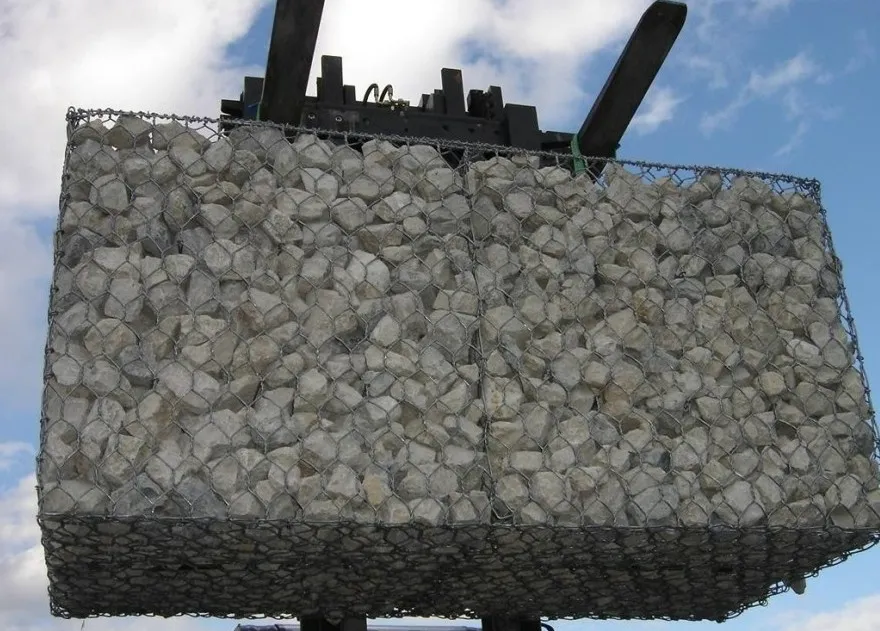
chain link fence installation
3. Attach the Top Rail Once the posts are set, attach the top rail to the line posts using rail ends and tension bands. This will provide additional structural integrity to your fence.
4. Install the Chain Link Fabric Unroll the chain link fabric along the line of installed posts. Starting at one end, use tension bars and ties to attach the fabric to the corner post, then extend the fabric along the line posts. Make sure that the fabric is taut to avoid sagging.
5. Secure the Bottom of the Fence To enhance stability, attach the chain link fabric at the bottom with tension wires, pulling it tight against the ground. This step helps prevent the fabric from shifting and also keeps pets from digging underneath.
6. Install the Gates If your fence includes a gate, now is the time to install it. Follow the manufacturer’s instructions carefully to ensure proper function. Ensure the gate swings freely and latches securely.
Finishing Touches
After the installation is complete, conduct a thorough inspection of the fence to ensure everything is securely in place. Look for any sharp edges or protruding wires and trim as needed to avoid injuries.
Maintaining Your Chain Link Fence
Chain link fences require minimal maintenance but should be checked periodically. Inspect for rust and, if necessary, apply a rust-resistant coating. If you notice any loose wires or ties, tighten them to keep the fence secure.
Conclusion
Installing a chain link fence is an achievable DIY project that can enhance your property’s security and aesthetics. By following the above steps carefully, you can create a durable and functional barrier that meets your needs. Take your time, ensure proper measurements and alignment, and enjoy the benefits of your new fence for years to come!
-
Wire Mesh for Every Need: A Practical SolutionNewsJul.25,2025
-
Steel Fences: Durable, Secure, and Stylish OptionsNewsJul.25,2025
-
Roll Top Fencing: A Smart Solution for Safety and SecurityNewsJul.25,2025
-
Cattle Farm Fencing Solutions for Maximum SecurityNewsJul.25,2025
-
Affordable Iron Binding Wire SolutionsNewsJul.25,2025
-
Affordable Galvanized Wire SolutionsNewsJul.25,2025
-
Wire Hanger Recycling IdeasNewsJul.25,2025

