-
 Phone:
 -
 Email:

Guide to Installing a Chain Link Fence for Your Property Needs
Installing a Chain Link Fence A Comprehensive Guide
Installing a chain link fence may seem like a daunting task, but with the right tools, materials, and a bit of patience, you can achieve a sturdy and attractive boundary for your property. Chain link fencing is known for its durability, cost-effectiveness, and relatively easy installation process. This guide will walk you through the necessary steps to install a chain link fence, highlighting important considerations along the way.
Step 1 Planning and Preparation
Before you dive into the installation, careful planning is essential. Start by determining the purpose of the fence—whether it's for security, privacy, or simply to enclose your yard. Next, check local zoning laws and homeowners' association regulations to ensure compliance, as some areas may have height restrictions or specific design requirements.
Once you’ve cleared the legal hurdles, measure the perimeter of the area where you’ll be installing the fence. Use stakes and string to outline the fence line, ensuring it is straight and true. This visual guidance will help you throughout the installation process.
Step 2 Gather Required Tools and Materials
For the installation, you will need a variety of tools and materials
Tools - Post hole digger or auger - Level - Measuring tape - Hammer - Wire cutters - Fence pliers - Safety goggles and gloves
Materials - Chain link fabric - Steel fence posts (terminal posts and line posts) - Concrete mix - Tension bars - Tension bands - Tie wires - Gates, if needed
Make sure to purchase high-quality materials that will stand the test of time. The gauge of the chain link fabric and the weight of the posts are critical factors in determining the durability of your fence.
Step 3 Installing the Fence Posts
chain link fence installation
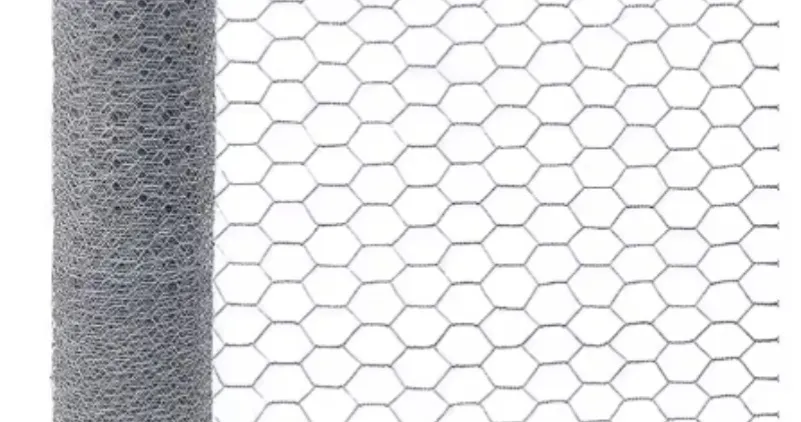
Begin by marking the locations of your posts according to your measurements. The standard distance between posts is typically between 5 to 10 feet, depending on the height of the fence and the characteristics of the area. Use your post hole digger to create holes approximately 2-3 feet deep, ensuring they are wider at the bottom for stability.
Set your posts in place and fill the holes with concrete, ensuring that each post is level and vertically aligned. Allow the concrete to cure as per the manufacturer’s instructions, typically 24 to 48 hours.
Step 4 Attaching the Chain Link Fabric
After the concrete has set, it’s time to attach the chain link fabric. Start by unrolling the chain link fabric and position it between the terminal posts. Secure one end of the fabric with tension bands, which will hold the fabric tightly to the terminal post.
Next, using tie wires, attach the fabric to the line posts along the perimeter. Space the ties about every two feet to ensure the fabric is securely held in place. Make sure to pull the fabric taut while doing this to avoid sagging.
Step 5 Finishing Touches
Once the chain link fabric is securely installed, use tension bars and bands at the ends and corners of the fence to further reinforce the structure. If you are installing a gate, follow the manufacturer’s instructions for proper setup, ensuring it swings freely and latches securely.
Lastly, take a moment to inspect the entire fence for stability and aesthetics. Trim any excess fabric if necessary, and remove any tools or debris from the area.
Conclusion
Installing a chain link fence is a practical and straightforward project that can enhance the functionality and appearance of your property. With proper planning and attention to detail, you can enjoy the benefits of your new fence for years to come. Whether you're looking to secure your yard, contain pets, or simply delineate your property, a chain link fence provides an economical and effective solution. By following the steps outlined in this guide, you can achieve a robust installation that meets your needs and withstands the elements. Happy fencing!
-
Wire Mesh for Every Need: A Practical SolutionNewsJul.25,2025
-
Steel Fences: Durable, Secure, and Stylish OptionsNewsJul.25,2025
-
Roll Top Fencing: A Smart Solution for Safety and SecurityNewsJul.25,2025
-
Cattle Farm Fencing Solutions for Maximum SecurityNewsJul.25,2025
-
Affordable Iron Binding Wire SolutionsNewsJul.25,2025
-
Affordable Galvanized Wire SolutionsNewsJul.25,2025
-
Wire Hanger Recycling IdeasNewsJul.25,2025

