-
 Phone:
 -
 Email:

chain link fence installation
Chain Link Fence Installation A Comprehensive Guide
Chain link fences are a popular choice for residential and commercial properties due to their strength, durability, and cost-effectiveness. Whether you're looking to secure your yard, create a boundary for pets, or enhance security around your business, installing a chain link fence can be a rewarding DIY project. In this guide, we will cover the essential steps and considerations for successfully installing a chain link fence.
Planning Your Installation
Before diving into the installation process, the first step is to plan your project. Start by determining the purpose of the fence. Are you enclosing a garden, keeping pets safe, or enhancing security? Once you know the purpose, measure the area where you intend to install the fence. Use stakes and strings to outline the fence’s perimeter, making sure to keep the layout straight and even.
Check local zoning laws and homeowner association (HOA) regulations to ensure compliance. Some areas have height restrictions or specific requirements for fence materials and designs. Obtaining the necessary permits is crucial before beginning any installation.
Gathering Materials and Tools
After planning, it’s time to gather your materials. Here’s a list of what you will typically need for installing a chain link fence
- Chain link fabric Choose the right height and material (galvanized or vinyl-coated) based on your needs. - Fence posts Line posts, terminal posts (end and corner), and gate posts. - Concrete mix For anchoring the fence posts securely. - Fencing tools These typically include a post hole digger, leveling tool, wire cutters, and a fence puller.
It is advisable to consult with the hardware store for any specific materials needed for your project, especially if you have cornered angles or gates.
Installation Steps
chain link fence installation
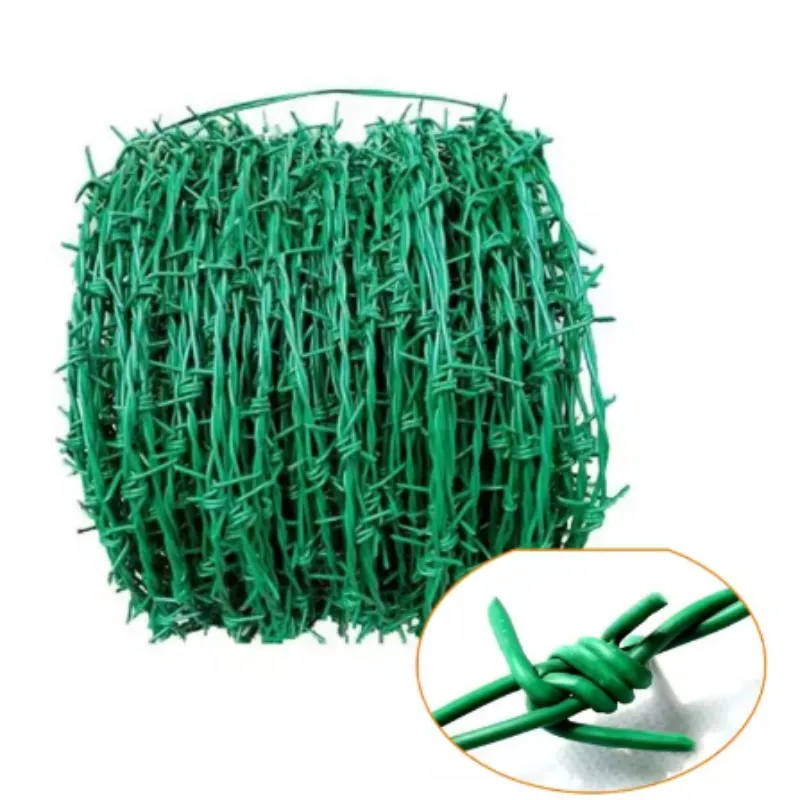
1. Post Placement Start by marking where your fence posts will go, typically every 6 to 10 feet apart. Use a post hole digger to excavate holes about 2 feet deep. Ensure that terminal posts (end posts) are installed at the corners and at any gate areas.
2. Setting the Posts Place the posts in the holes, ensuring they are level. Pour concrete mix into the holes around the posts to secure them. Allow the concrete to cure as per the manufacturer's instructions, usually 24 to 48 hours.
3. Attaching Chain Link Fabric Once your posts are set, begin attaching the chain link fabric. Unroll the fabric along the fence line, aligning it with the posts. Use tension bands to attach the fabric to the terminal posts and secure it with ties or clips to the line posts.
4. Installing the Top Rail If your design includes a top rail, attach it to the posts following the manufacturer’s instructions. The top rail adds stability and enhances appearance.
5. Installing Gates If you are including gates, install them last. Ensure they swing freely and are aligned correctly, allowing for easy access.
6. Finishing Touches After securing the fabric and gates, inspect the entire fence for stability and alignment. Trim any excess fabric as needed, and ensure that all posts and gates are properly fastened.
Maintenance and Care
After installation, maintenance is minimal compared to other types of fencing. Regular inspections will help identify any rust or damage that may need attention. Keep the area around the fence clear of debris and vegetation.
Conclusion
Installing a chain link fence is a manageable project for most homeowners. With proper planning, the right materials, and adherence to the steps outlined above, you can enhance the safety and aesthetics of your property. Remember to consult professionals for any specific concerns or complex installations to ensure the best outcome.
-
Wire Mesh for Every Need: A Practical SolutionNewsJul.25,2025
-
Steel Fences: Durable, Secure, and Stylish OptionsNewsJul.25,2025
-
Roll Top Fencing: A Smart Solution for Safety and SecurityNewsJul.25,2025
-
Cattle Farm Fencing Solutions for Maximum SecurityNewsJul.25,2025
-
Affordable Iron Binding Wire SolutionsNewsJul.25,2025
-
Affordable Galvanized Wire SolutionsNewsJul.25,2025
-
Wire Hanger Recycling IdeasNewsJul.25,2025

