-
 Phone:
 -
 Email:

chain link fence installation
Chain Link Fence Installation A Comprehensive Guide
Installing a chain link fence can be a practical and economical solution for property owners looking to define their spaces, enhance security, or keep pets contained. This type of fencing is not only durable but also relatively easy to install, making it a popular choice for both residential and commercial properties. In this guide, we will cover the essential steps involved in chain link fence installation, ensuring that you feel confident in taking on this project.
Step 1 Planning Your Fence
Before you begin the installation process, careful planning is crucial. Start by determining the purpose of your fence. Do you want to keep pets in, provide security, or simply mark the boundaries of your property? Once you know the purpose, measure the area where the fence will be installed. It's essential to create a detailed plan, including post locations, gate placement, and the total length of the fence needed.
Next, check with local zoning laws and homeowner association rules to ensure that you comply with any regulations, including height restrictions and property lines. Once you have your plan and necessary permissions, you can gather the required materials.
Step 2 Gather Materials and Tools
For a basic chain link fence installation, you will need the following materials
- Chain link fabric - Fence posts (terminal posts and line posts) - Post caps - Railings (top rails and bottom rails) - Concrete mix (for setting the posts) - Fence ties - Hinges (for gates) - Latch (for gates)
In addition to these materials, you will require some tools
- Tape measure - Level - Post hole digger or auger - Concrete mixer - Wrench - Pliers - Wire cutters - Hammer
Having all your materials and tools ready will streamline the installation process.
Step 3 Setting the Posts
chain link fence installation
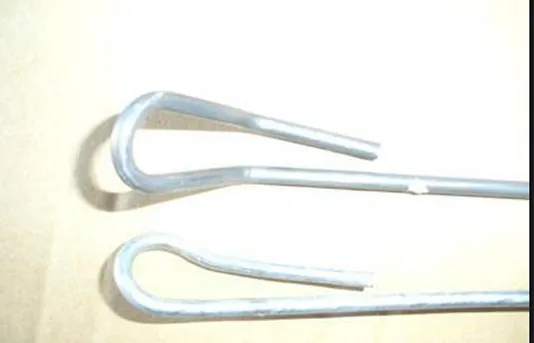
Start by marking the locations for your posts, typically spaced 6 to 10 feet apart. Use stakes and string to outline the perimeter. Dig holes to the appropriate depth, usually about one-third of the length of the post (typically 24 inches deep is standard). Make sure the holes are wide enough to accommodate the concrete.
Once the holes are ready, place the terminal posts at the corners and ends of your fence. For each post hole, add concrete for stability. Ensure that each post is level and plumb before the concrete sets. After the initial set time indicated on the concrete mix instructions, you can go ahead and install the line posts.
Step 4 Installing the Bottom and Top Rails
After the posts are securely in place, it’s time to attach the bottom and top rails. These rails help to hold the fence fabric taut and give additional stability. Use a level to confirm that the rails are straight and parallel to the ground. Once you ensure everything is aligned, secure the rails to the posts using brackets.
Step 5 Attaching the Chain Link Fabric
Now comes the most crucial part attaching the chain link fabric. Begin at one end of the fence, unrolling the chain link fabric and stretching it along the line posts. Use fence ties to attach the fabric to the posts, usually a tie every foot along the height of the fence. Make certain the chain link is taut to ensure that it looks neat and allows for proper function.
Step 6 Installing the Gates
If your fence design includes a gate, follow the manufacturer’s instructions for assembly. Attach the hinges to one of the terminal posts, ensuring it swings freely. Install the latch on the opposite post, positioned at an accessible height. Test the gate to make sure it operates smoothly.
Step 7 Final Touches
Once everything is installed, conduct a walk-around inspection to ensure all components are secure and that the fence is stable. Trim any excess chain link or material for a clean finish and check the posts and fabric for any sharp edges that may need to be smoothed out.
Conclusion
Installing a chain link fence may seem daunting, but by following these steps, you can achieve a durable and attractive result. This versatile fence offers protection, defines your property lines, and can enhance the overall look of your yard. With a bit of planning and the right tools, you’ll find that this project is well within your capability. Enjoy your newly installed chain link fence and the benefits it brings to your property!
-
Wire Mesh for Every Need: A Practical SolutionNewsJul.25,2025
-
Steel Fences: Durable, Secure, and Stylish OptionsNewsJul.25,2025
-
Roll Top Fencing: A Smart Solution for Safety and SecurityNewsJul.25,2025
-
Cattle Farm Fencing Solutions for Maximum SecurityNewsJul.25,2025
-
Affordable Iron Binding Wire SolutionsNewsJul.25,2025
-
Affordable Galvanized Wire SolutionsNewsJul.25,2025
-
Wire Hanger Recycling IdeasNewsJul.25,2025

