-
 Phone:
 -
 Email:

chain link fence installation
Chain Link Fence Installation A Comprehensive Guide
Installing a chain link fence is a practical and cost-effective solution for securing your property, whether it’s for residential, commercial, or agricultural purposes. Chain link fences provide a clear boundary, while allowing visibility and air circulation. In this article, we will guide you step-by-step through the installation process, ensuring you achieve a sturdy and aesthetically pleasing fence.
Materials Needed
Before you begin, gather all the necessary materials and tools. You will need
- Chain link fabric - Fence posts (line posts, corner posts, and gate posts) - Top rails - Tension bars - Tension bands - Wire ties - Concrete mix - A post hole digger - A level - A tape measure - A utility knife - A pair of pliers - A hammer
Step-by-Step Installation Process
1. Planning and Layout Start by planning your fence layout. Use stakes and string to outline where the fence will go. Ensure that you check local zoning laws and homeowners' association guidelines to avoid any legal issues.
2. Marking Post Locations Generally, fence posts should be placed 10 feet apart. Mark the locations for your corner, gate, and line posts. Corner posts need to be sturdier, so plan for extra support at these points.
3. Digging Post Holes Using a post hole digger, dig holes at least 2 feet deep for each post, depending on your local frost line. The holes should be wider at the bottom than at the top to provide stability.
chain link fence installation
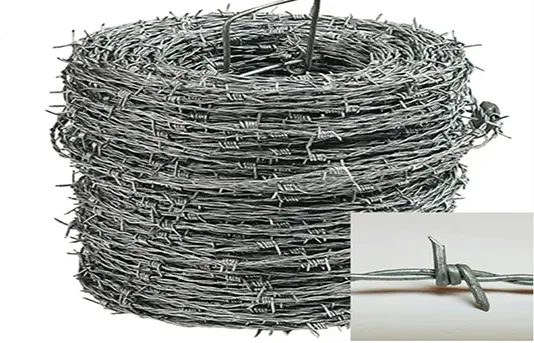
4. Setting the Posts Place the posts in the holes and use a level to ensure they are straight. A concrete mix can be used to secure them. Pour the concrete around the post and let it set according to the manufacturer's instructions, usually 24 to 48 hours.
5. Attaching the Top Rail Once the concrete has cured, attach the top rail to the posts. The top rail provides additional stability and finishes the look of your fence. Use brackets to secure the rail into place.
6. Installing Chain Link Fabric Unroll the chain link fabric along the fence line. This step requires assistance to keep the fabric taut. Use the tension bar at one end to secure the fabric to the terminal post with tension bands. Attach the fabric to the line posts using wire ties, evenly spaced for a neat appearance.
7. Securing the Bottom After the fabric is attached, secure the bottom of the chain link by digging a small trench along the bottom of the fence line. Lay the fabric in the trench, which helps prevent digging under the fence by animals.
8. Installing Gates If your fence includes a gate, install it according to the manufacturer's instructions. Ensure it's balanced and swings freely.
9. Finishing Touches Inspect your work for any sharp edges or loose fittings. You may want to apply rust-resistant paint or a protective sealant to the chain link to prolong its lifespan.
Conclusion
Installing a chain link fence can be a straightforward DIY project with the right preparation and tools. Not only does it provide security and boundary delineation, but it also enhances the overall value of your property. By following these steps, you can ensure a robust installation that will serve you for years to come. Happy fencing!
-
Wire Mesh for Every Need: A Practical SolutionNewsJul.25,2025
-
Steel Fences: Durable, Secure, and Stylish OptionsNewsJul.25,2025
-
Roll Top Fencing: A Smart Solution for Safety and SecurityNewsJul.25,2025
-
Cattle Farm Fencing Solutions for Maximum SecurityNewsJul.25,2025
-
Affordable Iron Binding Wire SolutionsNewsJul.25,2025
-
Affordable Galvanized Wire SolutionsNewsJul.25,2025
-
Wire Hanger Recycling IdeasNewsJul.25,2025

