-
 Phone:
 -
 Email:

chain link fence repair
Chain Link Fence Repair A Comprehensive Guide
Chain link fences are a popular choice among homeowners and businesses alike due to their durability, security, and low maintenance requirements. However, like any structure, they can suffer from wear and tear over time. Whether you’re dealing with rust, loose posts, or torn links, repairing a chain link fence is often a straightforward process that can help restore its functionality and appearance.
Common Issues with Chain Link Fences
Before diving into the repair process, it’s essential to identify the common issues that might arise with chain link fences
1. Rust and Corrosion Over time, the galvanized coating on the chain link can wear off, leading to rust. 2. Torn Links Links can become damaged due to various factors including weather, impact, or tampering. 3. Loose or Broken Posts The posts may become loose due to ground movement or inadequate installation. 4. Shifted Bottom Rail Sometimes, the bottom rail can shift or become dislodged, compromising the fence’s structure.
Essential Tools and Materials
To repair your chain link fence, you’ll need the following tools and materials
- Wire cutters - Pliers - Replacement links (if necessary) - Rust-resistant paint - Cement mix (for fixing posts) - Wrench - Gloves for safety
Step-by-Step Repair Process
1. Assess the Damage Walk around your fence and inspect it thoroughly for any signs of damage. Take note of areas that require attention, such as rusted sections, torn links, or unstable posts.
chain link fence repair
2. Repairing Rusted Areas For rusted parts, scrub the affected areas with a wire brush to remove any loose rust. After cleaning, you can apply a rust-resistant paint to the area to prevent further deterioration. Make sure to choose a paint that matches the original color for a seamless finish.
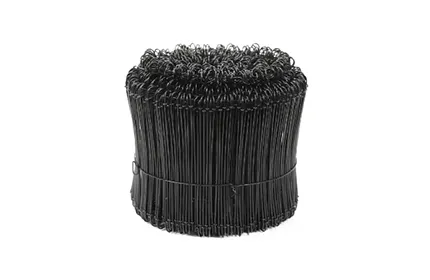
3. Replacing Torn Links If you find any torn links, you’ll need to replace them. Using wire cutters, remove the damaged link by cutting the wires on either side. Take a new link, feed it through the necessary sections, and secure it using pliers to twist the ends tightly.
4. Fixing Loose Posts If the posts of your fence have become loose, check the stability of the surrounding ground. If the ground is soft, you may need to dig around the base of the post, add some fresh cement mix, and let it cure for at least 24 hours to secure it more firmly.
5. Adjusting the Bottom Rail If the bottom rail has shifted, you may need to realign it. Lift the shifted section and ensure it is level, then secure it by tightening the fittings. If fittings are missing, they will need to be replaced.
6. Final Inspection Once all repairs are made, take some time to walk around the fence again to ensure everything is secure. Make adjustments if needed, checking for any additional compromises that may have been overlooked during the initial assessment.
Maintenance Tips
To extend the lifespan of your chain link fence, regular maintenance is key
- Inspect Annually Regularly check for rust, loose links, and other issues. - Clean as Needed Remove dirt, debris, and vegetation that can harm the fence. - Touch Up Rust Promptly address any new rust spots with cleaning and painting.
Conclusion
Repairing a chain link fence can seem daunting, but with the right tools and a bit of determination, it is a manageable DIY project. By addressing issues promptly and performing regular maintenance, you can ensure your chain link fence remains a robust barrier for years to come. Not only does a well-maintained fence enhance security, but it also improves the overall aesthetics of your property. Thus, taking the time to learn how to repair and maintain your chain link fence is well worth the effort.
-
Wire Mesh for Every Need: A Practical SolutionNewsJul.25,2025
-
Steel Fences: Durable, Secure, and Stylish OptionsNewsJul.25,2025
-
Roll Top Fencing: A Smart Solution for Safety and SecurityNewsJul.25,2025
-
Cattle Farm Fencing Solutions for Maximum SecurityNewsJul.25,2025
-
Affordable Iron Binding Wire SolutionsNewsJul.25,2025
-
Affordable Galvanized Wire SolutionsNewsJul.25,2025
-
Wire Hanger Recycling IdeasNewsJul.25,2025

