-
 Phone:
 -
 Email:

chain link fence repair
Chain Link Fence Repair A Comprehensive Guide
Chain link fences are a popular choice for residential and commercial properties due to their durability, low maintenance, and affordability. However, like any other structure, they can suffer wear and tear over time. Whether it’s due to weather conditions, accidental damage, or rust, knowing how to repair a chain link fence is crucial for maintaining security and aesthetics. This article will provide a step-by-step guide to help you address common issues associated with chain link fences.
Identifying Common Issues
Before delving into repairs, it’s essential to identify the common problems you might encounter with a chain link fence
1. Loose or Broken Links Over time, chain link fences can develop loose or broken sections. This can weaken the fence and reduce security. 2. Rust Chain link fences made of steel may develop rust, especially if the protective coating is chipped or worn off. 3. Tilted Fence Sections Changes in the ground or damage can cause sections of the fence to lean or tilt. 4. Damaged Posts Fence posts can become loose or cracked, compromising the stability of the entire fence.
Tools and Materials Needed
Before you start any repair work, gather the following tools and materials
- Pliers - Wire cutters - Replacement chain link fabric - New tension bars and wires (if necessary) - Concrete mix (for re-stabilizing posts) - A level - Protective gloves and goggles
Step-by-Step Repair Process
1. Assess the Damage Take a close look at the entire fence to assess the extent of the damage. This will help you determine what materials you need to repair it.
chain link fence repair
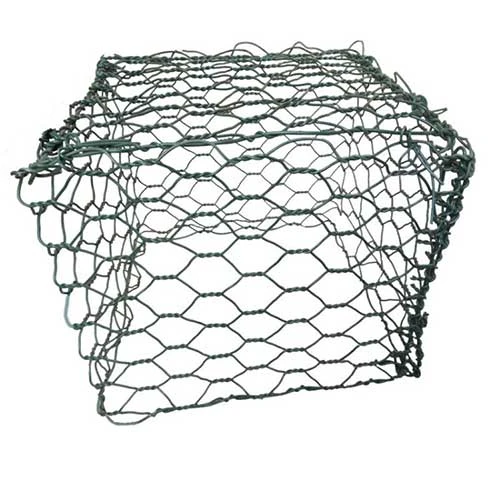
2. Repairing Loose or Broken Links - If you find loose links, use your pliers to tighten the wire ties connecting the chain link fabric to the frame. - For broken sections, cut out the damaged fabric with wire cutters and replace it with a new piece of chain link fabric. Use tension bars and tie wires to secure the new fabric in place.
3. Dealing with Rust - Inspect rusty areas on the fence. Use a wire brush to scrub away the rust. For minor rust spots, apply a rust-inhibiting primer followed by a coat of paint that matches your fence color. If the rust damage is extensive, consider replacing the affected sections.
4. Straightening Tilted Fence Sections - First, determine why the fence is leaning. If it's due to an issue with the ground, you may need to dig up the post, add or remove soil, and then re-cement it in place. - Use a level to ensure the posts are straight while you re-cement them.
5. Repairing Damaged Posts - For loose posts, you might need to dig around the base and add more concrete to stabilize them. - If a post is cracked, you can fill the crack with wood filler or replace the entire post if the damage is severe.
6. Final Touches - Once all repairs are completed, take a step back to inspect your work. Make sure everything is secure, and the fence looks uniform. - Clean any debris or leftover materials from the repair process. A tidy fence improves the overall appearance of your property.
Prevention is Key
After repairing your chain link fence, consider taking some preventive measures to extend its life
- Regularly inspect the fence for signs of wear and tear. - Clean the fence periodically to prevent dirt and rust buildup. - Apply a rust-resistant coating every few years to protect against corrosion.
Conclusion
Maintaining a chain link fence can seem daunting, but with the right tools and a bit of knowledge, you can handle most repairs with confidence. By addressing issues promptly and performing regular maintenance, you can ensure that your chain link fence remains a reliable and attractive feature of your property for years to come.
-
Wire Mesh for Every Need: A Practical SolutionNewsJul.25,2025
-
Steel Fences: Durable, Secure, and Stylish OptionsNewsJul.25,2025
-
Roll Top Fencing: A Smart Solution for Safety and SecurityNewsJul.25,2025
-
Cattle Farm Fencing Solutions for Maximum SecurityNewsJul.25,2025
-
Affordable Iron Binding Wire SolutionsNewsJul.25,2025
-
Affordable Galvanized Wire SolutionsNewsJul.25,2025
-
Wire Hanger Recycling IdeasNewsJul.25,2025

