-
 Phone:
 -
 Email:

Effective Solutions for Chain Link Fence Repair and Maintenance Tips
Chain Link Fence Repair A Comprehensive Guide
Chain link fences are a popular choice for property owners due to their durability, cost-effectiveness, and security features. However, like any other type of fence, they can suffer from wear and tear over time. Being proactive about maintenance can extend the life of your chain link fence, but when damage occurs, knowing how to repair it is essential. This article will guide you through the process of chain link fence repair, ensuring that your fence remains functional and aesthetically pleasing.
Assessing the Damage
The first step in repairing a chain link fence is to assess the damage. Common issues include rust, bent posts, loose fittings, or sections that have come off the rails. Take a walk around your fence to identify any problematic areas. For rust issues, check both the fabric and the framework of the fence. For bent posts or paneling, note the specific areas where adjustments are needed.
Rust Removal and Prevention
If rust is present, addressing it promptly is crucial. The first step is to scrub the affected areas with a wire brush to remove the rust. After removing the rust, clean the area with soap and water, then rinse and dry thoroughly. To prevent future rust, consider applying a rust-inhibiting primer and paint. This will not only protect the metal but can also enhance the overall appearance of your fence.
Repairing Bent or Damaged Sections
For bent panels or posts, you may be able to bend the metal back into shape using a pair of pliers or a mallet. However, if the damage is extensive or the post is seriously compromised, you may need to replace it. To replace a post, follow these steps
1. Remove the damaged post If the post is set in concrete, you might need to dig it out using a post hole digger. 2. Install the new post Position a new, treated wooden or metal post in the hole. Make sure it is level, and secure it in place using quick-setting concrete. Allow the concrete to cure according to the manufacturer's instructions.
chain link fence repair
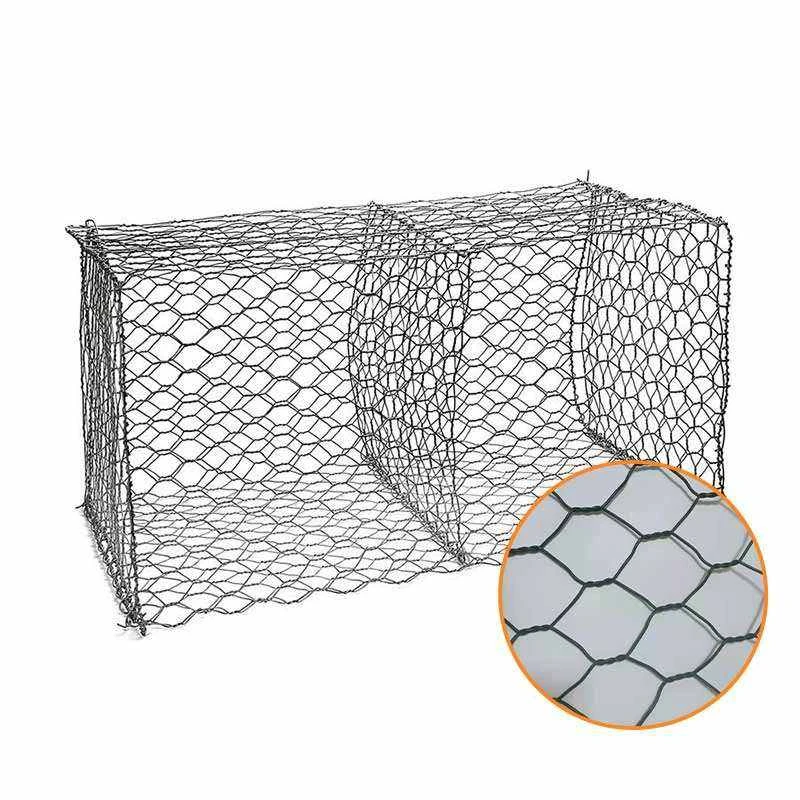
3. Attach the chain link fabric Once the new post is secure, reattach the chain link fabric to the post and make sure the tension is correct to avoid sagging.
Tightening Loose Fittings
Over time, the fittings that hold your chain link fabric in place can loosen. To tighten these fittings
1. Inspect the tension bands and bolts, tightening any loose screws with a wrench. 2. Check for wear on the tension wire, and if it appears damaged, replace it.
Regularly checking these fittings can prevent larger problems down the line.
Final Touches
After all repairs are made, take time to clean the entire chain link fence. This not only enhances its appearance but also helps in spotting any further issues. You might choose to repaint the fence to give it a fresh look. Use a weather-resistant paint in a color that complements your property.
Conclusion
Maintaining and repairing a chain link fence doesn’t have to be a daunting task. With proper assessment, timely repairs, and a little elbow grease, you can keep your fence looking great and functioning well for years to come. Regular maintenance not only ensures security but also keeps your property looking well-kept. Whether you’re dealing with small rust spots or larger structural issues, a little knowledge and preparedness can go a long way in extending the life of your chain link fence.
-
Wire Mesh for Every Need: A Practical SolutionNewsJul.25,2025
-
Steel Fences: Durable, Secure, and Stylish OptionsNewsJul.25,2025
-
Roll Top Fencing: A Smart Solution for Safety and SecurityNewsJul.25,2025
-
Cattle Farm Fencing Solutions for Maximum SecurityNewsJul.25,2025
-
Affordable Iron Binding Wire SolutionsNewsJul.25,2025
-
Affordable Galvanized Wire SolutionsNewsJul.25,2025
-
Wire Hanger Recycling IdeasNewsJul.25,2025

